How to upload a receipt in 4 ways

Keeping track of paper receipts can feel like a hassle, especially during month-end close or after a business trip when you need to submit them all on an expense report.
Luckily, apps like Expensify have introduced automation to keep you from having to store shoeboxes full of receipts or dig through your pockets to locate that receipt from a business dinner three weeks ago.
In this article, we’ll cover the four ways to send receipts to Expensify to make managing expenses, and more importantly, getting paid back, less of a headache.
1. Take a picture
The easiest way to capture your receipt on the go is with your mobile device. Once you get the receipt, all you need to do is snap a picture of it with Expensify, and then you can toss your receipt in the trash. No more mountains of paper at the bottom of your bag!
Check out the steps below on how to upload a receipt with your phone’s camera directly to Expensify.
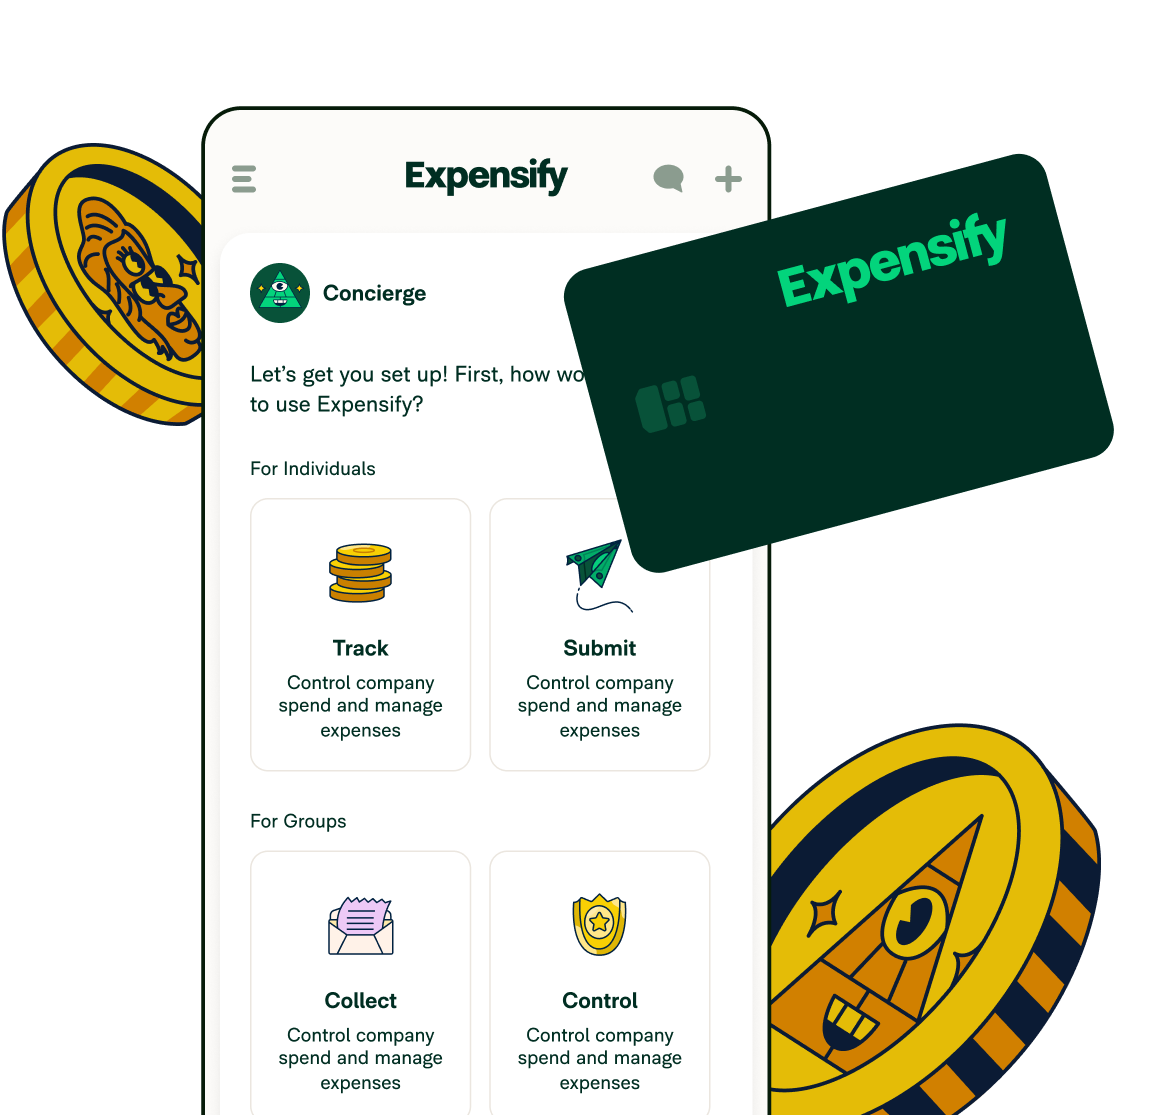
First, download the Expensify app, and open it up on your phone.
See that camera icon at the bottom? Tap it!
Snap a clear photo of your receipt. If you'd rather add a photo from your gallery, click the mountain icon to upload it.
Double-check the photo to make sure you’ve captured the merchant, date, and amount, then hit "Save." Ta-da! The receipt will be in your expenses all ready to go.
BONUS: If you don’t want to open the app, just text your receipt to 47777 with your US number and we’ll handle the rest!
How to get a good receipt picture
While our receipt scanning app’s OCR (Optical Character Recognition) technology is highly accurate, we’ve got a few tips to help make sure you get a good receipt upload every time:
Make sure you’re taking the photo in a well-lit area, or utilize your camera’s flash feature if necessary.
Try to hold the receipt against a dark or contrasting background so the receipt’s text stands out.
If your receipt is long, feel free to put your receipt on a table or on the floor and take a photo from above - photos are high quality these days and our OCR technology can easily zoom in to grab the necessary information.
2. Email it
If you need to upload a digital receipt sent to your email, Expensify's got you covered. Submit any receipts you get in your inbox with the click of a button.
Here’s how to upload a receipt with email:
Make sure the email you're using is linked to your Expensify account.
You can also add a secondary login (for example, one for work and one for personal).
Head to your inbox. If you've got an email receipt, you’ll just need to forward it over to receipts@expensify.com.
Or, if you've got receipt images or PDFs, forward those to the same email.
You should see a new expense created with the PDF attached as a receipt image in your Expensify account. Magic! ✨
3. Upload via the computer
Prefer uploading expenses on your computer? Go for it! Using the web app gives you some extra options for receipt uploading.
Here’s how to upload a receipt via your computer:
Log into your account at expensify.com.
Head over to the "Expenses" tab on the left.
Click "New Expense" up in the top-right, then pick from Manually Create, Scan Receipt, or Create Multiple.
From there you can either scan, upload, or manually input your expense info, whichever works best for you.
4. Automatic uploading
Traveling for business and want to make it easier to send receipts to Expensify from Lyft, Uber, Delta, or other travel apps? To simplify the process of tracking all these receipts, Expensify offers a seamless solution: connect your Expensify account directly to the travel apps you use most.
Once connected, every receipt from your business trips will be automatically uploaded to your Expensify account, saving you time and reducing the risk of lost documents.
This integration ensures all your travel expenses are organized and easily accessible for reporting and reimbursement. Explore our full range of receipt integrations to discover how you can streamline your expense management even further.
What receipts get rejected?
Receipts are rejected if they're illegible, blurry, or missing key information, such as the merchant, date, or total amount. Expensify may also reject a receipt if it's a duplicate or if the image quality is too poor for the SmartScan technology to read accurately.
Checklist: Before you upload
Is the receipt image clear and well-lit?
Can you see the merchant, date, and amount?
Is your email linked to your Expensify account (for email uploads)?
Are you using a supported file type (PDF, JPG, PNG)?
For long receipts, did you capture all necessary information (front and back if needed)?
This quick checklist will help your readers quickly find the best upload method and avoid common mistakes!
Benefits of digitizing receipts
Reduces paper clutter and saves physical storage space.
Makes it easier to organize and search for receipts.
Improves security by preventing loss or damage of paper copies.
Facilitates faster tax preparation and expense tracking.
Supports environmentally friendly practices by reducing paper use.
Handling special request scenarios
Special receipt scenarios may include situations such as lost receipts, damaged receipts, or receipts for returns and exchanges. In these cases, it is important to follow specific procedures to ensure proper documentation and compliance with company policies.
For example, if a receipt is lost, employees should complete a lost receipt form and obtain approval from a supervisor. For damaged receipts, attach any available pieces and provide a written explanation. When processing returns or exchanges, always reference the original receipt and include any additional documentation required.
Adhering to these guidelines helps maintain accurate records and supports internal audits.
FAQs
-
Expensify stores all digital receipts in the cloud, meaning you can save the gigabytes on your devices for pictures of your dog or your entire music collection instead.
-
The easiest way to scan receipts is whatever works best for you! As you can see, Expensify offers a number of ways to submit your receipts, no matter where you are or how you like to work. Learn more about Expensify’s industry-leading receipt scanning app, or just try one of the methods above to submit your receipts this month!
-
For long receipts, simply take a picture of the entire receipt, making sure the top and bottom are visible. If there’s important information on the back, take a second picture of the reverse side. The app will handle combining them into one record.
Otherwise, if needed, you can fold the receipt so that you’re capturing only the merchant, date, and amount, as these are the three essentials needed for Expensify to accurately upload the expense data.
-
A good paper receipt is one that's clear, legible, and complete. It should clearly show the merchant's name, the date of the transaction, and the total amount paid. A good receipt is not torn, faded, or blurry.
-
To get the perfect picture, place your receipt on a flat, dark surface with good lighting to minimize shadows. Hold your phone steady, focus on the entire receipt, and make sure all key details (merchant, date, amount) are visible and sharp before you snap the photo.
-
Expensify's SmartScan technology typically processes a paper receipt in under a minute. After you upload it, the system uses OCR (Optical Character Recognition) to extract the key data, creating a smart expense entry that's ready for review.
-
For quick and easy receipt tracking, Expensify and Ramp are often considered top contenders. Expensify's "SmartScan" feature lets you simply snap a photo, and it automatically extracts all key data, making expense reports painless. Ramp's integrated corporate card automatically creates transaction records, so all you have to do is add the receipt for a truly seamless experience.
-
When looking for a solution that combines expense tracking and invoicing, Expensify is a powerful choice. It's an all-in-one financial super app that goes beyond just receipts, allowing you to send, view, and pay invoices directly within the same chat-based interface. This integrated approach, which also includes bill pay and peer-to-peer payments, makes it an ideal tool for freelancers and small businesses managing client billing and company spending in one place.
Make paper receipts a thing of the past
Forget collecting piles of paper and wondering how to digitize your expenses. Use Expensify for all your receipt upload needs and track receipts in the most convenient way for you.
Manage receipts with ease
Download the Expensify app today.
Expensify values your privacy. We’ll never sell your personal information to others.